
Scanning a biometric passport involves capturing a digital image of the identity page of the document, which contains the photo, the machine-readable zone (MRZ), and the printed security features. The quality of this capture determines whether the file will be accepted during online registration, an electronic visa application, or a remote identity verification process. A poorly captured file results in an immediate rejection, even if the passport is perfectly valid.
Why photo filters make a passport scan unusable
The common reflex after photographing a passport is to enhance the image: tight cropping, increased contrast, switching to black and white. These edits pose a concrete problem at the time of verification.
Identity verification solutions (KYC) incorporate algorithms for detecting digital tampering. According to Datakeen, these systems identify abnormal compressions, areas where holograms or micro-prints have been smoothed by a filter, and crops that remove the edges of the document. A scan deemed “too clean” is automatically rejected, just like a fake.
Knowing how to scan a biometric passport therefore involves resisting the temptation to beautify the image. The raw file, with its slight reflections and ambient hue, remains more reliable than a retouched version.
The rule is simple: no filters, no retouching, no aggressive cropping. If the destination platform accepts JPEG format, keep the photo as it came out of the device. For a PDF, use a scanning application that converts without altering the original pixels.
This sensitivity to edits also explains why passport screenshots are systematically rejected. A screenshot applies additional compression and alters the native resolution of the file, triggering the same alerts as a graphic filter.
Messaging applications pose a similar problem. Sending a photo of your passport via instant messaging before uploading it to a platform reduces the quality of the file. These applications automatically compress images to save bandwidth, which degrades the security micro-details.
Storing in a cloud service can also alter the file. Some hosting services apply silent recompression to uploaded images, especially when the “save space” option is enabled in the settings. Always download the original file from your local gallery rather than from a synchronized online album.
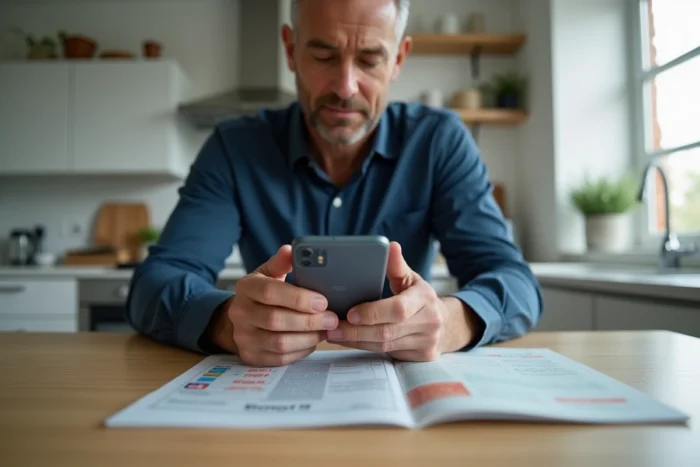
Capture settings for a clear scan of the identity page
The page to scan is the double inner page that bears the photograph and the MRZ (the two lines of characters at the bottom). This is the area that automatic reading systems analyze first.
Brightness and positioning of the document
Diffuse natural light gives the best results. Avoid direct artificial light (desk lamp, overhead neon) that generates reflections on the protective plastic film. If you don’t have natural light, orient the light source to the side rather than directly overhead.
Lighting from two opposing side sources reduces shadows cast on the central binding of the passport. This shadow area is problematic because it darkens the characters near the crease, making the MRZ partially unreadable for OCR.
Also, remember to turn off the screen of any nearby devices. Color reflections from a lit monitor or tablet overlap with the laminated film of the passport and create unwanted color areas that the algorithm may interpret as a tampering of the document.
- Place the passport open flat on a dark and plain background (dark table, black sheet) to maximize contrast with the edges of the document
- Hold the phone or scanner strictly parallel to the surface, without tilting, to avoid trapezoidal distortion of the text
- Maintain a distance of about an arm’s length between the lens and the passport, then crop slightly if necessary, without trimming the edges of the document
- Ensure that the entire MRZ is readable in the final image, including the chevrons (the “<" symbols) that serve as separators
Resolution and file format
A resolution that is too low prevents automatic reading. An excessive resolution makes the file larger without benefiting verification. Most recent smartphones capture an image that is generally sufficient by default.
Platforms generally accept JPEG or PDF. Prefer JPEG for a single submission and PDF when the request requires a multi-page document. In both cases, do not compress the file after capture: compression degrades the security micro-details that algorithms seek to validate.
For scanning applications on smartphones, check in the settings that the “document” mode is enabled rather than “photo” mode. Document mode automatically adjusts the perspective and detects the edges of the passport, but without applying an aesthetic filter to colors or contrast.
A often overlooked point concerns the file name. Some government platforms reject files whose names contain special characters or spaces. Rename the file with a simple title (for example, “passport.jpg”) before uploading it.
If you are scanning with a flatbed scanner rather than a smartphone, set the resolution between 300 and 600 DPI. Below 300 DPI, the characters of the MRZ lose sharpness. Above 600 DPI, the file often exceeds the maximum size allowed by online forms, necessitating compression and negating the benefit of high resolution.
Verification before sending
Before uploading the file, zoom in on the MRZ on your phone’s screen. Each character should be distinct, without blur or pixelation. The letters O and the number 0 are frequently confused by OCR when the resolution is insufficient or when a slight motion blur affects the image.
Also check that all four corners of the document are visible in the frame. Contour detection algorithms need the complete edges to confirm that it is an original document and not a cropped portion or a photocopy.
Check the final file size. Most platforms impose a limit between 2 and 10 MB. If your image exceeds this limit, reduce the capture resolution in the device settings rather than compressing the file afterward, as post-compression degrades security elements in ways that are invisible to the eye but detectable by the algorithm.
NFC reading of the biometric passport chip
The small radio wave symbol on the cover of the passport indicates the presence of an NFC chip. This chip stores a digital copy of the photo, civil status data, and cryptographic signatures issued by the government of the issuing country.
NFC reading has become the preferred channel for verifying the authenticity of a passport remotely. A counterfeit document, even visually convincing, does not contain a readable chip and consistently fails this check.
The chip also contains biometric data (fingerprints on second-generation passports) accessible only to authorized authorities. For a standard civil check, only the photo and civil status information are read by the application.
The communication protocol between the phone and the chip is based on the ICAO 9303 standard. This protocol uses the data from the MRZ (passport number, date of birth, expiration date) as a decryption key. Without these three pieces of information correctly entered or read beforehand, the chip refuses to transmit its content. That is why some applications ask to photograph the identity page before starting the NFC scan.
NFC scanning procedure with a smartphone
Not all smartphones position their NFC antenna in the same place. On most Android devices, it is located in the center of the back of the phone. On iPhone, it is at the top.
- Open the application that requires verification (airline, banking service, visa platform)
- When the application displays the NFC scan screen, lay the closed passport flat on the table
- Place the back of the phone against the back cover of the passport, then slowly move it until the application detects the chip
- Maintain contact without moving for several seconds, while the data is fully read
Do not lift the phone before the scan is complete, even if the screen seems to respond. An interruption requires restarting the procedure from the beginning, and some applications limit the number of attempts.
If the chip is not detected after several tries, remove the protective case from the phone. Thick cases or those containing a magnet or magnetic card holder can block the NFC signal.
Also check that the NFC function is enabled in the phone’s settings. On Android, it is found in the connection settings. On iPhone (models XS and later), NFC reading is managed directly by the application without prior adjustment.
On some Android models, the NFC antenna is offset towards the top or bottom of the casing. If detection fails with the phone centered on the passport, slowly slide the device from the top to the bottom of the back cover. The confirmation signal (vibration or sound notification) indicates the exact position of the antenna, which you can replicate for subsequent scans.
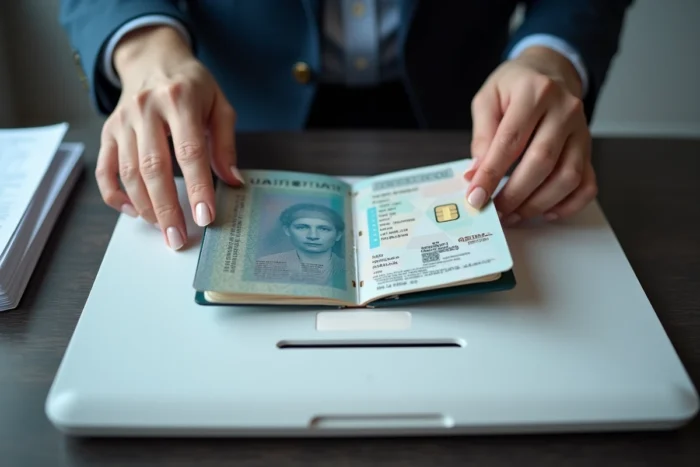
Common scanning errors and their technical cause
A scan rejection does not mean that the passport is invalid. In the vast majority of cases, the problem comes from the capture itself.
Geometric distortion is the most common cause. When the passport is not perfectly flat (binding that raises the center, page that curls), the characters of the MRZ become distorted and unreadable for OCR. Keep the pages open with a finger placed outside the frame of the photo, or use a transparent flat object placed on the page.
Reflections on the laminated film constitute the second source of failure. They obscure the security features (holograms, guilloches) that authenticity verification systems look for. Changing the lighting angle by a few degrees is usually enough to eliminate them.
Last pitfall: scanning the wrong page. Some passports have a supplementary observation page or data page that visually resembles the identity page. The correct page is always the one that displays the MRZ on two lines of 44 characters each, accompanied by the photograph of the holder.
Some platforms add a consistency check between the optical scan and the NFC reading. If the data extracted from the image does not match those stored in the chip, the file is flagged. This occurs particularly when the scan is of an old passport while the read chip belongs to the currently valid document.
Passports nearing expiration also pose difficulties. Several airlines and consular services require a residual validity of three to six months. The scan may be technically successful but the file rejected because the expiration date read in the MRZ does not meet this threshold.
Physically damaged passports generate a third type of rejection. A slightly detached identity page, a laminated film that begins to lift on one edge, or an ink stain on the MRZ area is enough to fail the automatic verification. The system interprets these alterations as potential signs of tampering, even when they result from normal wear and tear.
A successful biometric passport scan relies on three controllable parameters: side lighting without reflections, a perfectly flat document, and an unretouched raw image. When the platform also offers NFC reading, this additional step reinforces the validity of the check without complicating the process.